Search This Blog

Monday, March 7, 2011

Chili


Anybody who ventures into cooking should make a chili. I'm not talking about the spaghetti alternative that is known as Cincinnati Chili, I'm talking about real chili. Meaty chili. Succulent, spicy gravy boasting chili. The kind of chili that people create and then enter into big competitions for cash prizes.

Most people make chili in the same basic way, but the varieties of spice, meat, and other ingredients produce very different results.


I start mine in a big pot.


Four cloves of garlic go into some oil.


For this chili I used a chuck roast, 3 or 4 pounds. My roast was still a little frozen when I started the chili, so I used the sweating garlic to brown/thaw the roast enough for cutting.


While the roast was browning, I chopped up a red onion and a white onion. I set these aside until I put the chopped meat back into the pot.


Said chopped meat. Not that I didn't trim this roast. The fat is the flavor.


Into the pot goes the meat. I stir my chili religiously every few minutes to make sure that the meat gets browned. 


At a certain point, the oil will all get absorbed into the meat, so I add about a cup of water to help the meat steam and not get all hard and gross. Again, continue stirring to get all the meat cooked.
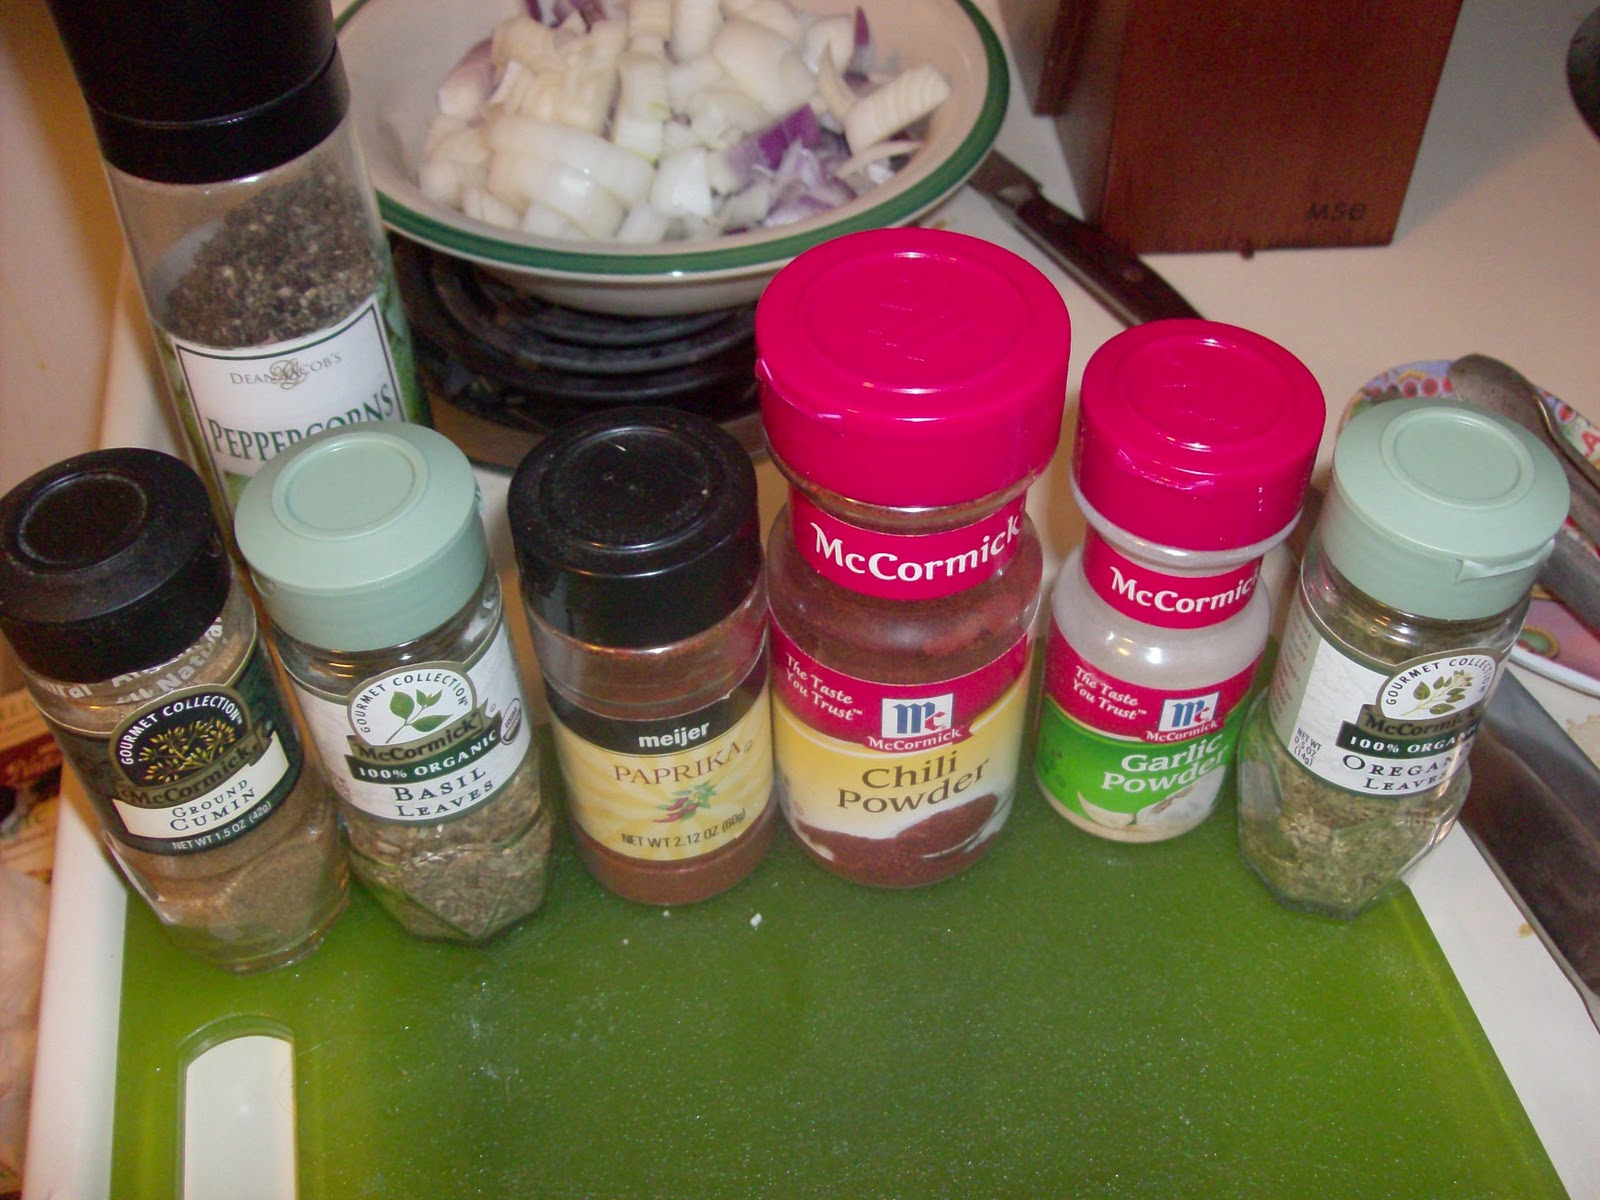

These are all the spices I use in my chili. From left to right: Cumin (about 2 tsp), Basil (about 1 tsp), Paprika (eh, about 1/2 tsp), Chili Powder (2 tbsp), Garlic Powder (1 tsp), Oregano (1 tsp), Salt & Pepper to taste.


Pre-spice, meat is browned and bubbling away happily. It is after the meat browns that I add the onions and the spices.


After the onions and spices are added, I poured another 1/2 cup of water to assist in the steaming process.


This is the end result of about an hour of cooking. Note that the meat is brown, shiny, and appears delicious. I cut the biggest piece I could find to make sure the beef was done.


Once the meat was completely done, and the spices and onions have blended together to form the perfect chili gravy (it's kinda brown and smells awesome), I added a big can of tomatoes and three cans of chili beans. Some may say I cheated by not using raw pinto beans, but I say I saved time.


After another hour of cooking, this chili is done. I fed at least ten people and had leftover chili (arguably better the next day) for our family of four.


I like mine with cheddar cheese and sour cream.

Tuesday, March 1, 2011

Demon Fingers

Wings weren't really considered an edible part of chickens until someone decided to offer them at a tavern to help sell beer. At least, that's how the legend goes. I think that's rediculous, because there's plenty of recipies that use the wing. Besides, throwing away food is wasteful.

However, when I cooked these wings, I did cut and toss the tip. I'm not sure I know anyone that actually eats the little thing, it really just holds some skin and some bone. For that matter, I'm not sure why the butcher leaves it on. Maybe for show? Anyway, I started with almost four pounds of wings. With the tips cut off, I guess this is just over three pounds?

The perfect day to make these is a day where you feel the need to break people's fingers. I haven't broken anyone's finger, but I imagine that separating chicken wings is exactly how it feels and sounds. I'll spare you the details, but suffice it to say: save up your rage, it will be worth it.


My sauce. It isn't really a secret, but see if you can identify the parts based on this picture. (I'll make a list of ingredients in the comments)


Whipped up, it is just sticky enough to stay on the fork, but not so sticky that it won't wipe off, got me? We're looking for a light glaze, with something that might permeate into the meat and skin, not something that will kludge all over and stick and burn in the oven.


Cover the wings with the sauce.


Stir it up so that everything has at least a slight coating, and toss in the fridge for an hour. Yes, an hour. That's long enough to make sure the rest of your dishes are clean, or to consider side dishes, or to make a quick beer run.


Post fridge, after a stir, you may notice that the appearance of the wings has taken on a darker, sinister look. I've heard these called "Marble Wings" or "Mahogany Wings". I think I should call mine "Demon Fingers". Preheat oven to 450.


Line a pan with foil, lightly spray with whatever spray you're into. Single-layer. My pan was JUST big enough to hold all of the wings.


I was hoping this shot would showcase the evil looking skin of the chicken, but it kinda just looks gross.

Throw in oven at 450 for 30 minutes, or until the scent of sinful awesomeness covers you with shivers.


----- POST COOKING

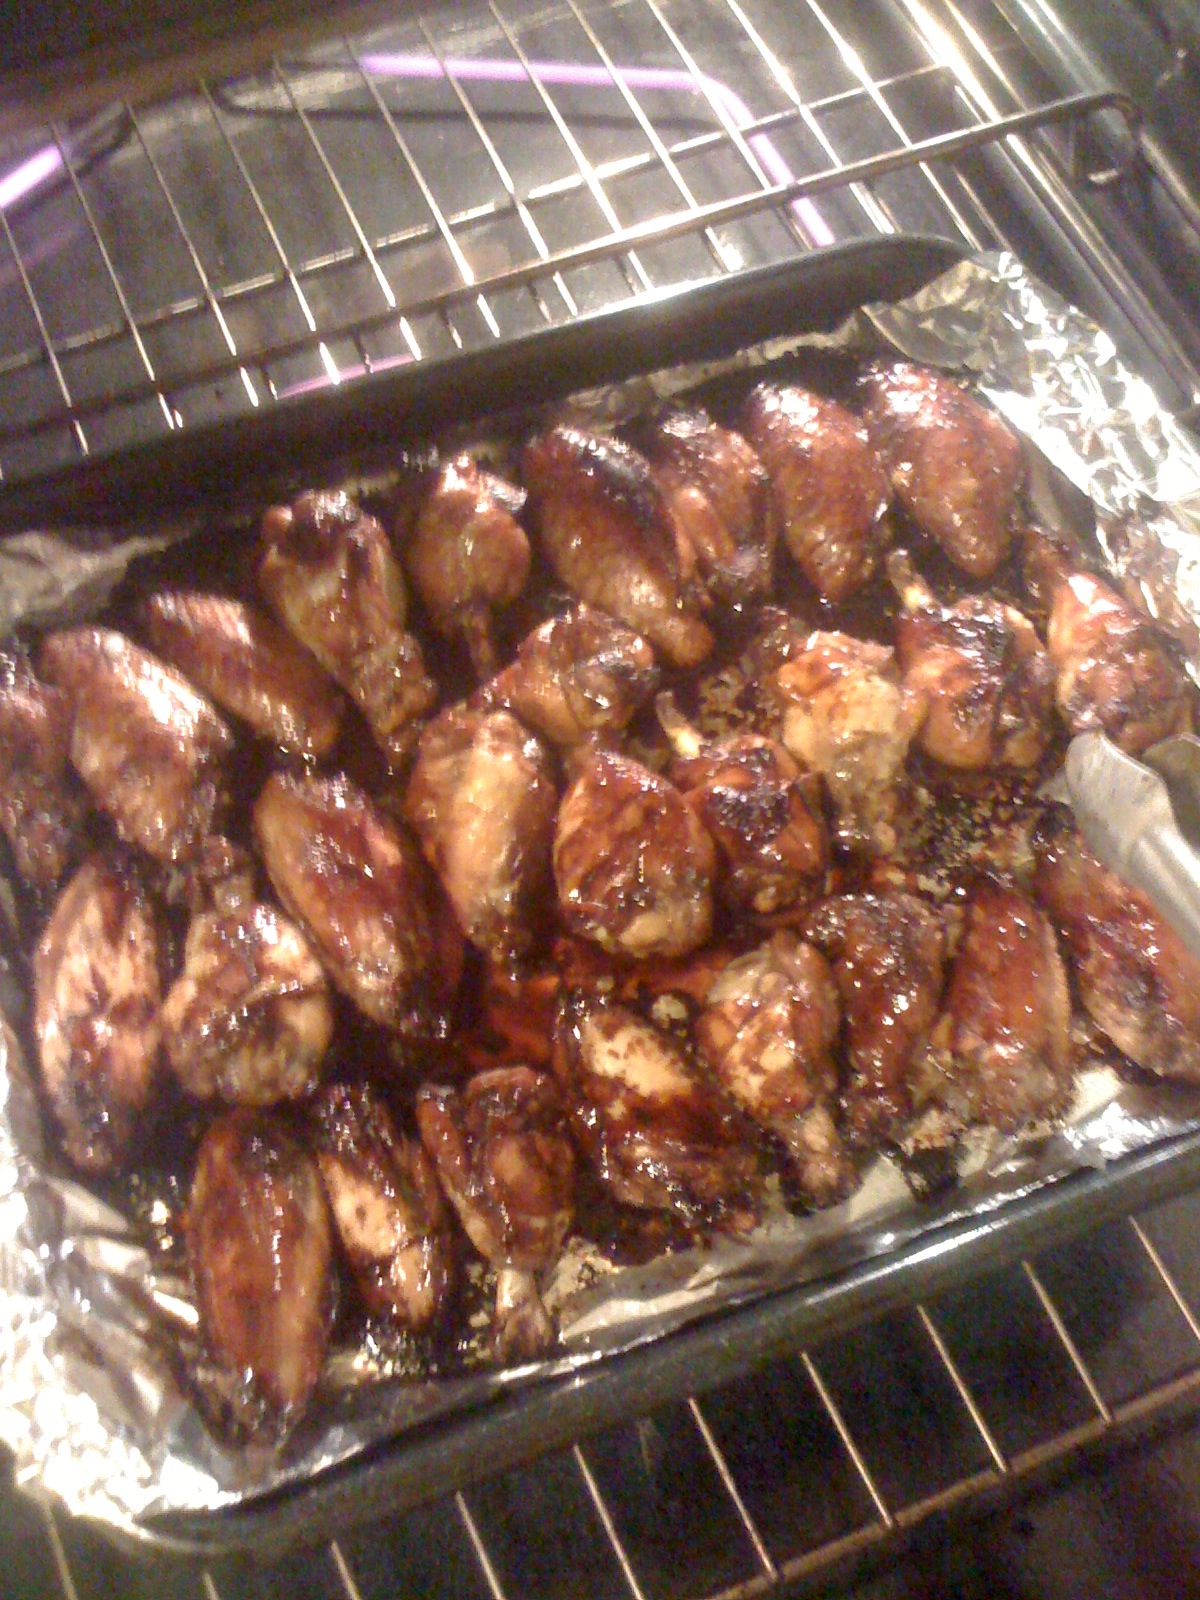
I pulled mine at just over 30 minutes, right at the point where the sugars in the sauce ceased to carmelize and started going towards full-on burn. Turn every wing.


Yes, every wing. At this point, the chicken may be "done" enough for some of you, but I like my animals dead.


Oh. Hello. There.


So, I poured the rest of the flavor, I mean sauce over the wings, popped them back into the oven, cranked it down to 350, and let it ride. The sauce may thicken, or it may just disappear completely, it's all up to exactly what you put in. Mine had a significant amount of soy sauce, so it mostly evaporated.


After another ten minutes or so, cut the biggest, juiciest wing you can find right in the center of the meat. If the juice is clear, or if the meat is dry, it's done. If there's any sign of blood, like, red blood, keep cooking.


PS: I'm apparently the god of cooking rice, and I don't use any fancy-pants rice cooker. I use a pan of boiling water. I do it all by hand, no timer, I just know when it's done.

Anyway, my secret is the mini-mountain technique. In a pan of probably two cups or more of boiling water, I pour in the long-grain rice until I can see a little mountain of rice sticking out of the top.


This picture may not be very clear, but if you look carefully in the center of the pan you can see some definition of rice grains. When you see that, stop pouring, stir the mix a few times, then put a tight lid on the pan, drop the heat to low, and let it just simmer.

Don't look at it.

Don't touch the lid.

Just... Don't touch it.

Really, it's about 20 minutes or so, but eventually you should be able to smell the rice. Pull the lid just enough to look inside. If you see any water at all, it's not done. Don't touch it. Let it continue to steam itself to perfection.

Cooked rice should appear to have little holes in the surface when it's done. Almost like little geysers waiting to explode hot water to the surface. Then, and only then, should you remove the pan from heat and stir. I don't use a fork unless I'm trying to make the rice fluffy. For this meal, I just scooped the sticky rice straight to the plate.

I didn't get any pics of a final plating because we were all so hungry and we just demolished everything... But, I plated some rice next to the wings, and added a few canned pineapple rings to help cleanse the palate after those sinful wings.

Monday, February 21, 2011

Leek and Potato Soup


I married an Irish girl, so any sort of soup proclaiming to involve potatoes has to satisfy a very particular set of requirements. It has to be tasty, it has to stand up to time, and it has to have enough salt but not too much salt. I believe after this, there really isn't a lot else to worry about.

I start my potato soup with bacon.


That's right, just regular ol' bacon. I guess you could get some fancy bacon, with pepper or other kinds of meats in it... But I got this stuff from my local grocer, it's cheap, and fries up pretty nice.

I chop it up into relatively small pieces, perhaps a square half inch for those keeping score.

Then I fry the hell out of it.

While the bacon is giving up the goods, I wash and slice four decent sized leeks. I keep a strainer in large pot of cold water to help rinse any sand or dirt from inside the leeks. Slice, dunk, leave in for a few minutes. It's okay if the rings start to come apart, they're going to do this anyway, and the results will be delicious.


While the leeks are in the tub, I remember the bacon. I like mine done, but not completely burnt. I let the transfer of fat and meat stick to the skillet a little so that there's something left for the other ingredients to hold onto.

When the bacon is to the point where it is almost crispy, but still ever so slightly chewy, I transfer the bacon itself to a large stock pot. Leave the liquid fat in the skillet, we just want the chunks in the pot.

That fat is going to be used to cook the leeks. I want these to start the glorious process of breaking down now, so that we don't have to wait for days while it's bubbling in the pot.

Don't be worried if the leek rings come apart, we want this to happen: it increases the surface area of the leek and it provides more space for the mouth-watering bacon grease to coat in and around everything.

I let mine fry for a good ten minutes, or until they start to get a little golden brown.

Four cloves of garlic, chopped messily. Add to the leeks and continue stirring.

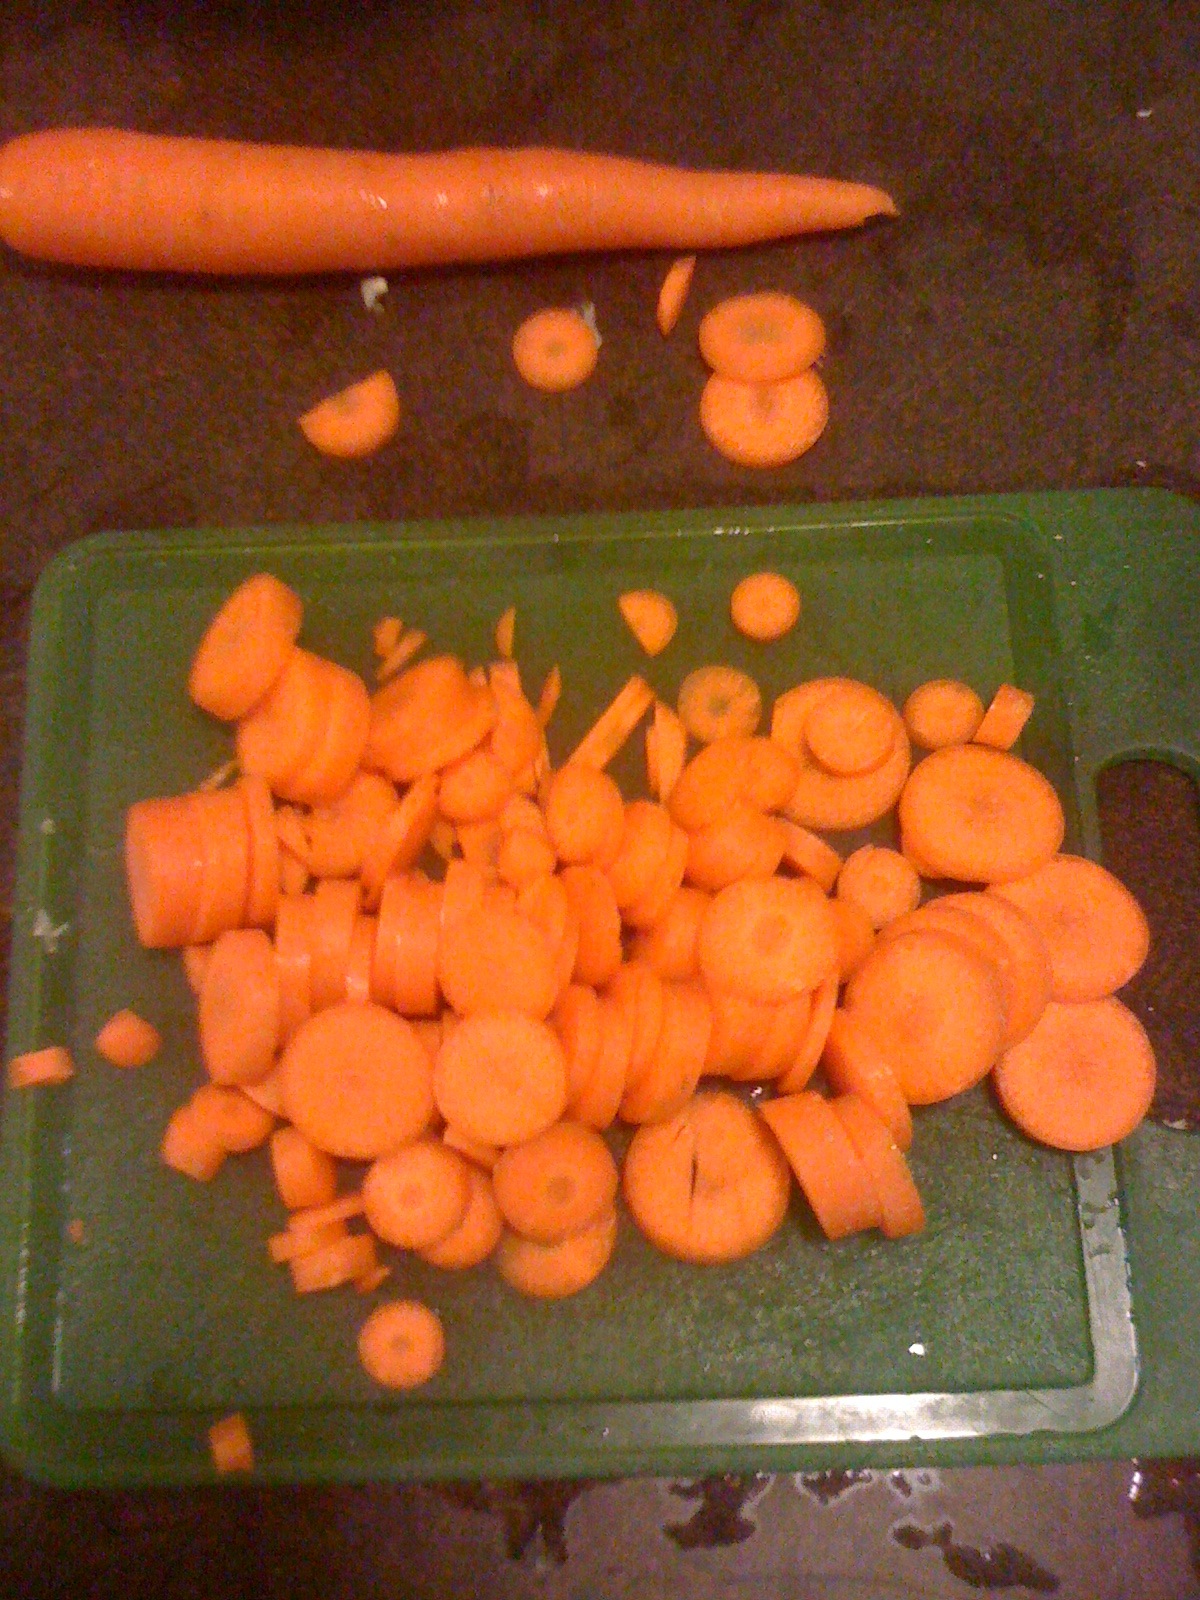
Three large carrots, unpeeled. Fuck peeling carrots. If there's a nasty spot somewhere on them, cut that part out, but really, these things have been in the ground. If you're that worried about germs, stop eating everything.

I transfer the fried leek/garlic combo to the pot with bacon to chill out for a little while, then continue with the aromatics.

I just drop my carrots in the pan with the leftover bacon fat, let them caramelize a little.

We only buy celery hearts. I used fight the higher cost, but really, with regular celery, the outer stalks are typically woody and dried up anyway. My wife is right, it's better in the long run to just get the hearts. I chop five good celery stalks into small pieces for my soup.

And add them to the carrots. This part of the cooking process seems to take the longest, maybe 20 minutes or more depending on how thick you cut your carrots. In between stirrings and whatnot, I start prepping the potatoes.

That's right, I leave the skins on. The skin is the best part of the potato. It has all the character, vitamins, and fiber, and it also adds an interesting texture to the finished product. Besides, we have 20 minutes to get ten of these chopped up, not really long enough to peel each one.

I also like to chop the potatoes into non-regular pieces. Make some big, some small, etc. This adds to the character of the soup. If the soup was to be blended I might worry more about keeping everything uniform for cooking time and whatever, but I'm not, so I don't.

Ah, a glazed pan. What a beautiful thing. The flavor in the crud stuck to that pan is what is going to drive the entire soup. I deglazed this pan with some gin, although anything liquid and thinner than what is on the pan will work.

While I didn't get a shot of the deglazing process (it's really quick, and smells awesome), the contents of the pan were dumped into the pot with everything else.

I add herbs, spices, and mushrooms at this point. With this soup I added about a tablespoon of ground basil, a tablespoon of oregano, and two teaspoons of cumin. I ground in a bunch of fresh black pepper (I don't know, maybe 25 grind's worth?), and probably 2 tablespoons of salt. The potatoes will eat that salt for lunch, and we have to help bring out the flavor of the bacon. The mushrooms were an afterthought when I glanced through the fridge when putting the carrots and celery away.

I add just enough water to come below the surface of the veggies (maybe four or five cups?) and crank the heat to med-high.

For the next forty minutes, it's stir, cover, let boil, stir, cover, let boil. We want the veggies to break down, the potatoes to give up their starches, and the flavors to all mingle together.

I don't consider the stirring and covering process complete until the potatoes have a "rounded" appearance, the carrots can be smashed into the side of the pan, and the overall appearance of the water to be murky and muddy. This should smell like a cross between dirt and sugar.

Once the veggies cease to be recognizable, I add enough whole milk so that the consistency is to my liking (I like it thin), and the color to resemble wall spackle. Turn the heat way way down (hell, turn it off if you like), and add salt and pepper to taste.

Some people add stuff to their soup, like sour cream or chives or whatever... I don't, I just add a spoon.


Footnote:

All the parts of the veggies that were NOT used in this soup were thrown into a box and will begin the compost pile of my new residence. We moved in October, and lost a terrific compost bin at the old place. So consider the environment before just tossing this stuff out. The nitrogen will help any soil out, and your tomatoes will be more awesome.